|
gBurner can create write Linux ISO file to USB
drive to make bootable USB drive, you can then install Linux or
run live Linux from the USB drive. gBurner supports most of
Linux distros, such as Ubuntu, Fedora, Debian, and etc. Please
follow the steps to make Linux bootable USB drive, and setup
Linux from the USB drive.
Step1: Create Bootable USB Drive:
-
Start gBurner or gBurner Pro (v5.0 or newer version,
download here).
-
Insert the USB drive you intend to boot from.
-
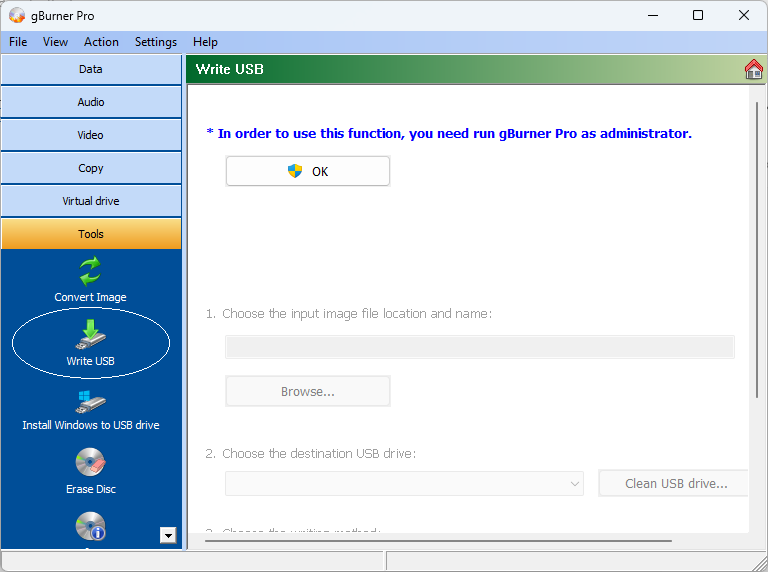
Click on the "Tools > Write USB"
icon in the project list.
-
A "Write USB" project opens
in the project window. If you are using Windows
Vista or Windows 7 operating system, you need confirm the
UAC dialog to continue.
-
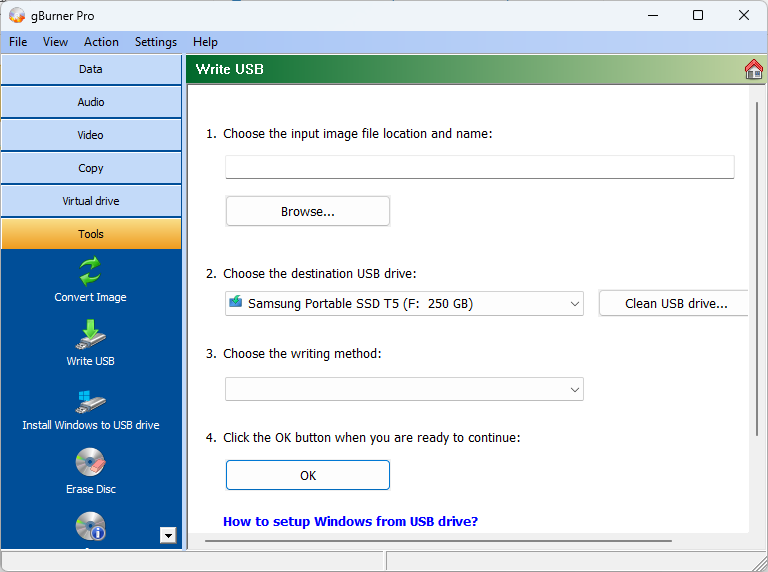
Click "Browse ..." button to
select the Linux setup iso file.
Select the correct USB drive from the
"Destination USB Drive" list.
Choose the proper writing method. "UEFI"
is recommended for most of all modern computers. You can
also select "BIOS" or "BIOS and UEFI CSM"
if your computer or the Linux distro doesn't support UEFI booting.
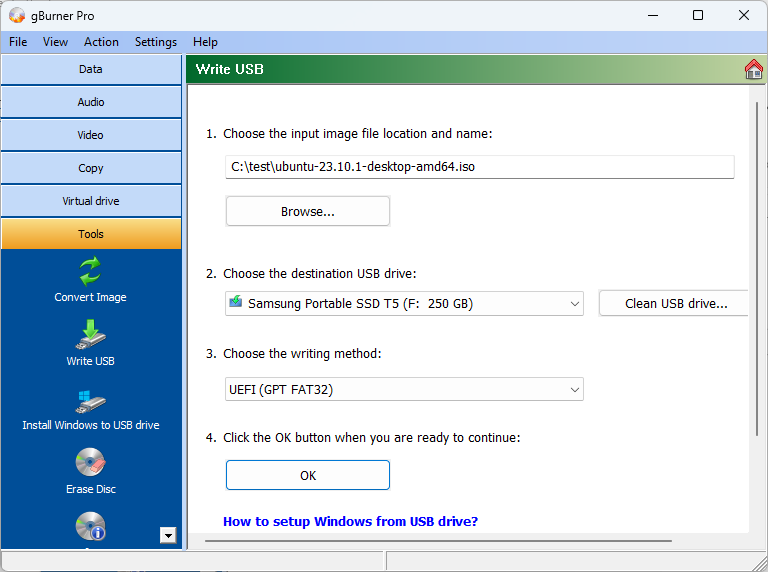
Click "OK" button to start
creating Linux bootable USB drive.
-
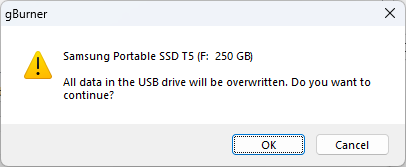
A warning dialog shows prompting that all
data in the USB drive will be destroyed. Please make sure
that you have selected the correct USB drive, and backed
up all important files in the drive, then click
"OK" to continue.
-
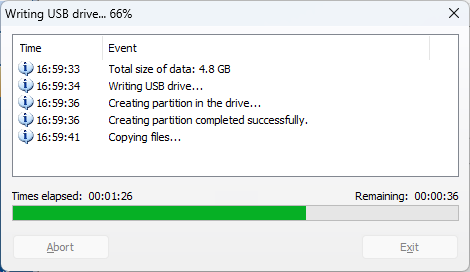
gBurner will start writing all setup files and boot information to the USB drive. It will show
detailed information during the process.
-
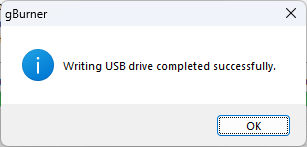
You should receive a message box,
"Writing USB drive completed successfully.", after gBurner finishes the process.
If no errors occurred in the above process, you
should now be all set to setup Linux through USB drive!
Step 2: Configuring the BIOS to boot from USB
drive:
You should now reboot and go into the BIOS
configuration to boot from USB. Instructions for doing so
wildly from system to system, but generally entail the
following:
-
Reboot the system.
-
While booting (before Windows starts
loading), get into the BIOS configuration screen by hitting
something like F1, F2, Delete or Escape. Hotkey instructions
are generally provided on the screen.
-
Go to the section that contains your boot
devices.
-
With your USB drive plugged in, the USB
drive should be listed. If it isnít, your system might not
support booting from USB. Assuming that it is supported (as
is the case with virtually all modern hardware), promote
your USB drive to the primary boot device. If you have
created the bootable USB drive in "BIOS" or
"BIOS and UEFI CSM" mode, please enable CSM
support.
-
Exit from the BIOS configuration, saving all
changes.
Step 3: Booting and setup Linux from USB
drive:
Assuming that you properly configured your BIOS
and your USB drive supports booting, Linux setup should now
load. Depending on the speed of your USB drive, this may take a
while.
If it isnít working, then double-check the
following before making a scene:
-
Is your BIOS properly configured for booting
from the USB device? (Is the USB device listed and does it
have top priority?)
-
Have you correctly prepared the USB drive in
step one? (Restart the procedure and try another writing
method.)
-
Does your USB drive properly support being
booted from? (Try another one!)
|


