|
gBurner can burn files and folders to CD, DVD,
or Bluray disc. If the disc is not finalized, you can append
data to it many times until it is full. The burned disc complies with the ISO9660 standard.
It also supports Joliet and UDF file system.
To burn a data disc, please follow the steps,
1. Click on the "Data > Data Disc" icon in the project list,
or click on the "File > New > Data Disc" menu.
The Data Disc project opens in the project window.
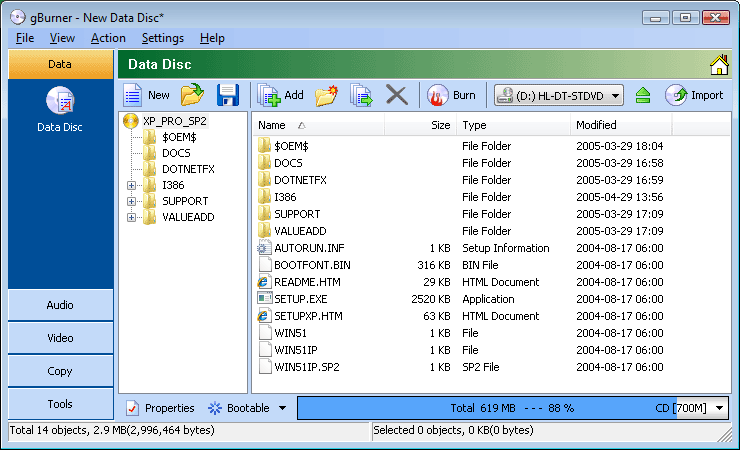
Notes: If you want to open an existing project / image
file, click on the "Open" icon
and navigate to the file you would like to open.
2. Select a recorder from the drive drop-down
lists if you have more than one drive connected, and
then insert a recordable disc into the selected recorder.
Notes: If your disc already contains data and you
want to append
more data, you can load them by clicking on the
"Import" icon.
3. Prepare
files need to be written to the disc as follows,
-
Add files and folders: Click on the
"Add" icon
to add files and folders. You can also directly drag files and folders from
Windows Explorer to the project window.
-
Create new folder: Click on the
"New folder" icon
to create a new folder.
-
Delete files and folders: Select the files and folders you want to delete,
then click on the "Delete" icon.
-
Rename file or folder: Click the file or folder you want to rename, click it
again (not double click), then type the new name.
-
Change label: Click the disc label, click it again (not double click), then
type the new label.
-
Boot information: If necessary, click on the "Action > Boot"
menu to add, delete and save boot information.
-
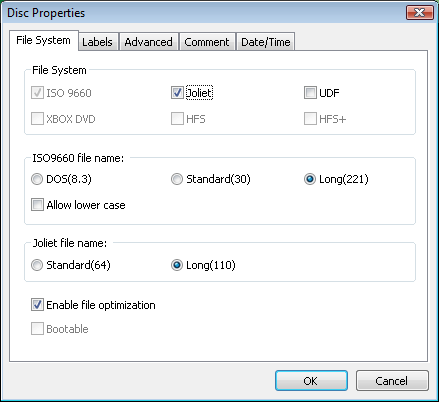
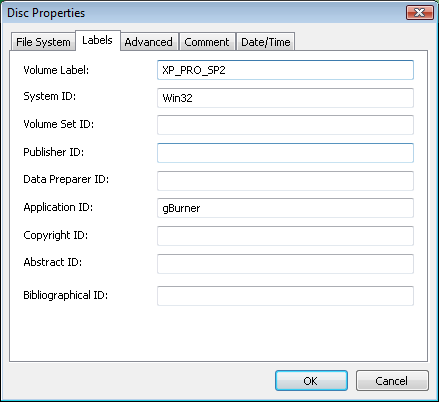
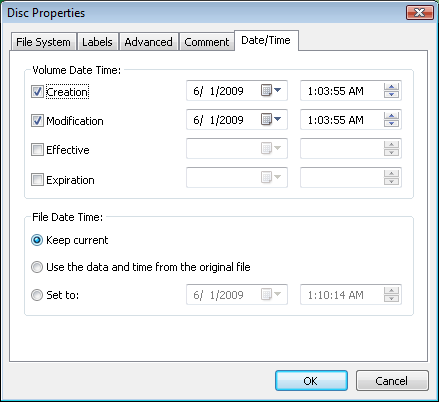
Disc Properties: If necessary, Click on the
"Properties" icon
to set disc properties, such as file system, labels, date time,
and so on.
Notes: If you want to save the current project,
click on the "Save" icon.
4. Click on the
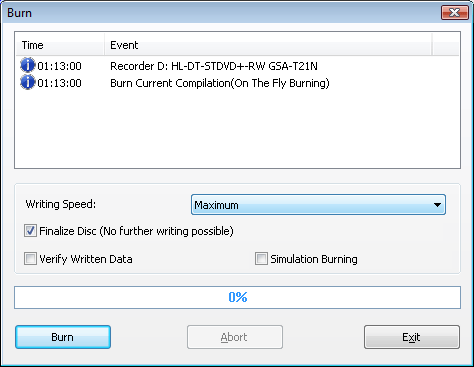
"Burn" icon on toolbar after you have finished preparing data. The burn dialog opens, where you can
view or change burn
options. You can then click on the "Burn" button to
start the actual burn process.
 Notes:
If you want to append data to the disc in future, please uncheck the "Finalize Disc" option.
|


