Add files and folders: Click on the  icon
to add files and folders. You can also directly drag files and folders from
Windows Explorer to the project window.
Create new folder: Click on the  icon to create a new folder.
Delete files and folders: Select the files and folders you want to delete,
then click on the  icon.
icon.
Rename file or folder: Click the file or folder you want to rename, click it
again (not double click), then type the new name.
Change label: Click the disc label, click it again (not double click), then type the new label.
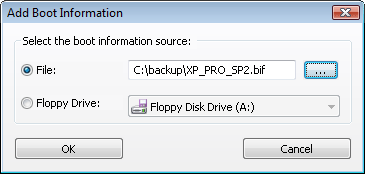
Boot information: If necessary, use the "Action > Boot" menu to add, delete and save boot information.
