|
gBurner can create a standard
Audio CD that can be played in almost any CD, DVD and Blu-ray disc player and most computers.
gBurner supports most popular music file formats, such as mp3,
flac, ogg, wma, wav, and etc...
To burn an Audio CD
with gBurner, please follow the steps,
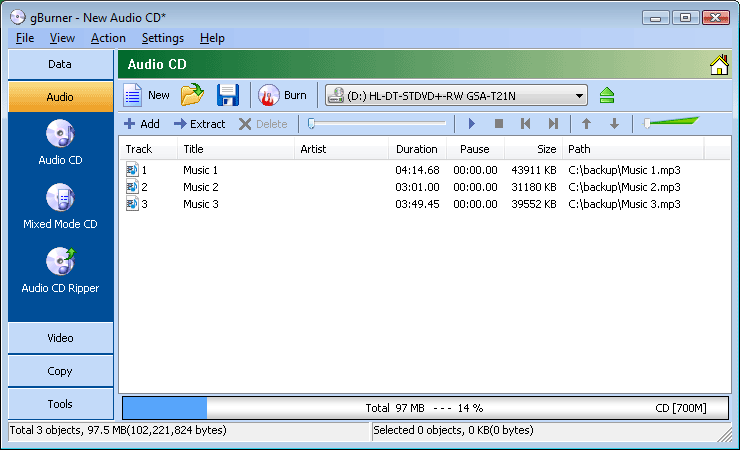
1. Click on the "Audio > Audio CD" icon in the project list,
or click on the "File > New > Audio CD" menu.
An Audio CD project opens in the project window.

2. Select the
correct drive from the drop-down list, and insert a recordable CD disc into
the selected drive. 3.
Prepare music files need to burn written to the CD as
follows,
-
Add Songs: Click on the
"Add" icon to add music files (MP3, WMA, WAV, FLAC, APE and OGG formats).
You can also directly drag music files from Windows Explorer to the project window.
-
Delete Songs: Select the songs you want to delete, then
click on the "Delete" icon.
-
Change Song
order: If necessary, click on the "Up" or
"Down" icon to change the selected song
order.
-
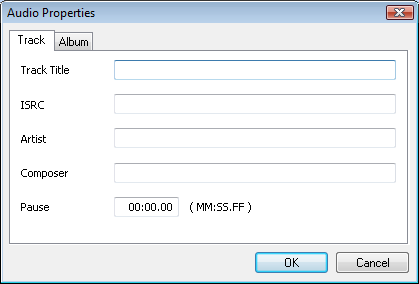
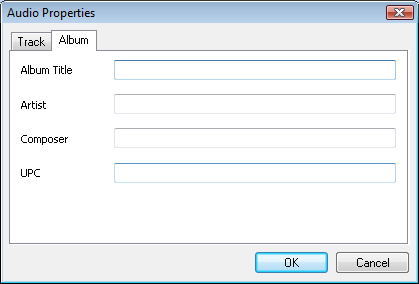
Audio Properties: If necessary, click on the "Action > Audio Properties..." menu to set Audio
CD-TEXT that will be written to the CD.


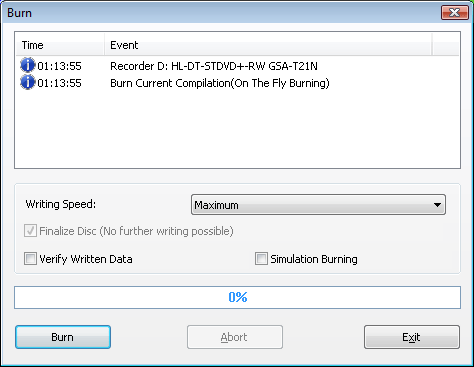
4. Click on the
"Burn" icon on toolbar. The burn dialog will open.
You can view or change burn settings if necessary. Click on the "Burn" button to start the actual burn process.

|


